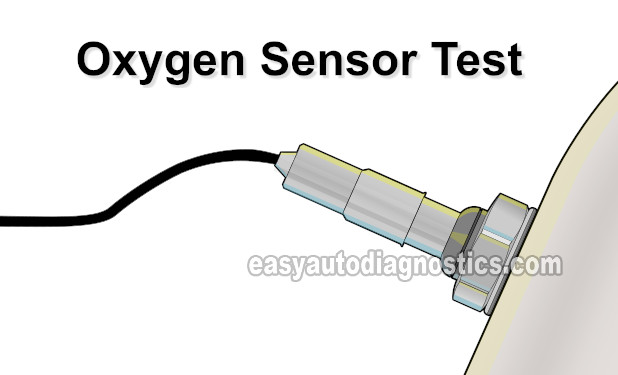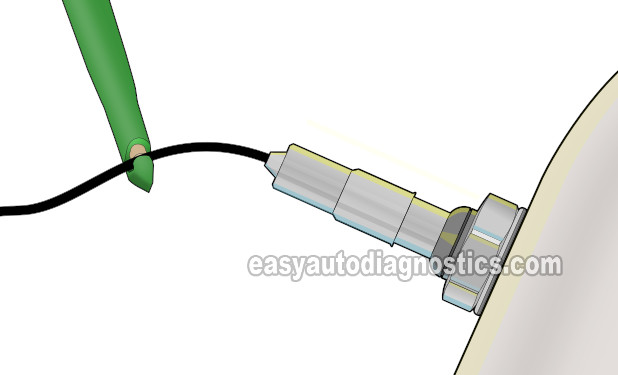
The oxygen sensor on your OBD I 2.8L V6 equipped Chevy S10 (or GMC s15) is a single wire type that can be easily tested with a multimeter -a professional, technician-level scan tool is not required.
In this tutorial, I'll show you how to do it step by step and in plain English! With your test results, you'll quickly determine if the oxygen sensor is good or bad.
Contents of this tutorial:
- Symptoms Of A Bad Oxygen Sensor.
- Important Tips And Suggestions.
- Where To Buy The O2 Sensor And Save.
- TEST 1: Checking The O2 Signal With A Multimeter.
- TEST 2: Manually Creating A Rich Condition To Test The O2 Sensor.
- TEST 3: Manually Creating A Lean Condition To Test The O2 Sensor.
- More 2.8L Chevy S10 Pickup, GMC S15 Pickup, And GMC Sonoma Tutorials.
![]() You can find this tutorial in Spanish here: Cómo Probar El Sensor De Oxígeno (2.8L V6 GM) (at: autotecnico-online.com).
You can find this tutorial in Spanish here: Cómo Probar El Sensor De Oxígeno (2.8L V6 GM) (at: autotecnico-online.com).
Symptoms Of A Bad Oxygen Sensor
In a nutshell, your S10/S15's fuel injection computer uses the oxygen sensor as a feedback sensor to adjust the injector's pulse width.
These adjustments correct the air/fuel mixture needed to meet the fuel needs of various engine operating conditions.
For example, if the O2 sensor detects and reports a rich condition (too much fuel injected into the engine), the fuel injection computer will inject less fuel.
If the O2 sensor detects and reports a lean condition (not enough fuel being injected into the engine), the computer will inject more fuel.
Because the oxygen sensor has a direct impact on the air/fuel mixture settings, its failure will result in one or more of the following symptoms:
- Trouble codes illuminating the check engine light (CEL):
- Code 13: Oxygen (O2) Sensor Circuit.
- Code 44: Lean Exhaust.
- Code 45: Rich Exhaust.
- Bad gas mileage.
NOTE: If you'd like a more detailed explanation of how the O2 sensor works, take a look at this tutorial on the sister-website to this one: Oxygen Sensor Basics (at: troubleshootmyvehicle.com).
Important Tips And Suggestions
TIP 1: Use a 10 megaohm impedance digital multimeter: Using a multimeter that's not rated a 10 megaohm impedance multimeter will damage the oxygen sensor.
If you don't own one, take a look at the following recommendations here: Buying A Digital Multimeter For Automotive Diagnostic Testing.
TIP 2: Use caution: Always exercise caution and follow all safety guidelines when working with hot components in an engine. The oxygen sensor and the exhaust manifold it's bolted into get and stay very hot! Be careful and don't touch the O2 sensor or the exhaust manifold for any reason once the engine is running or is cooling down.
TIP 3: Wear protective gloves: The oxygen sensor and its surrounding area can still be hot even after the engine has cooled down, so it's a good idea to wear protective gloves to avoid burning your hands.
TIP 4: Set up your multimeter connections with a cold engine: This will ensure that you avoid getting burned from hot exhaust or engine components.
Where To Buy The O2 Sensor And Save
The single wire oxygen sensor in your 2.8L Chevy S10 (or GMC S15) can be bought in any auto parts store, but I think, you'll find the better price online. The following links are pretty good deals:
Disclosure: As an Amazon Associate, I earn from qualifying purchases. Buying through these links helps support this site at no extra cost to you. Thanks for your support —it really means a lot!
Not sure if the above O2 sensor fit your particular 2.8L Chevy S10 (or GMC S15)? Don't worry, once you get to the site, they'll make sure it fits by asking you the specifics of your vehicle. If it doesn't fit, they'll find you the right one.
TEST 1: Checking The O2 Signal With A Multimeter

The voltage signal that the O2 sensor produces is a direct result of its reaction to the oxygen content of the exhaust gas to which it's exposed.
The more fuel in the exhaust, the less oxygen in the exhaust, the higher the voltage signal that the O2 sensor produces.
The less fuel in the exhaust, the more oxygen in the exhaust, the lower the voltage signal that the O2 sensor produces.
In a correctly functioning single wire oxygen sensor, its voltage output should vary between a rich and lean air/fuel mixture.
More to the point, its voltage should switch rapidly between low and high as the air/fuel mixture changes, indicating the sensor is functioning properly and providing accurate data to the engine's management system.
To start our diagnostic of the oxygen sensor, we'll check the performance of its output signal with a multimeter.
IMPORTANT: Use a 10 megaohm impedance digital multimeter to test the O2 sensor. If you don't own one, take a look at the following recommendations here: Buying A Digital Multimeter For Automotive Diagnostic Testing.
These are the test steps:
- 1
Set your multimeter to Volts DC mode.
- 2
Connect your multimeter to oxygen sensor wire. You'll need to use a wire piercing probe to accomplish this.
To see what a wire piercing probe looks like and where to buy it, look here: Wire Piercing Probe Tool. - 3
Start the engine and let it warm up till it reaches normal operating temperature.
If the engine is completely cold, accelerate it to about 2,000 RPM for about 5 minutes till the upper radiator hose starts to get warm to the touch. - 4
Observe the multimeter voltage changes once the engine has reached normal operating temperature and you have let it return to its normal idle RPM.
- 5
Your multimeter should report a constantly changing voltage between 0.4 to 1 Volt DC the entire time the engine is running.
Let's take a look at what your test results mean:
CASE 1: The O2 sensor signal voltage moved up and down the as the engine idled. This tells you that the O2 sensor is working and NOT defective.
CASE 2: The O2 sensor voltage was stuck above 0.5 Volts as the engine idled. This test result tells you that the O2 sensor is seeing a constant Rich air/fuel mixture. This could be a result of an engine performance issue or the O2 sensor could be bad.
To find out, the next step is to create a lean air/fuel mixture to see if the O2 sensor reacts to it. For this test go to: TEST 3: Manually Creating A Lean Condition To Test The O2 Sensor.
CASE 3: The O2 sensor voltage was stuck below 0.5 Volts as the engine idled. This test result tells you that the O2 sensor is seeing a constant lean air/fuel mixture. This could be a result of an engine performance issue or the O2 sensor could be bad.
To find out, the next step is to create a Rich air/fuel mixture to see if the O2 sensor reacts to it. For this test go to: TEST 2: Manually Creating A Rich Condition To Test The O2 Sensor.


