
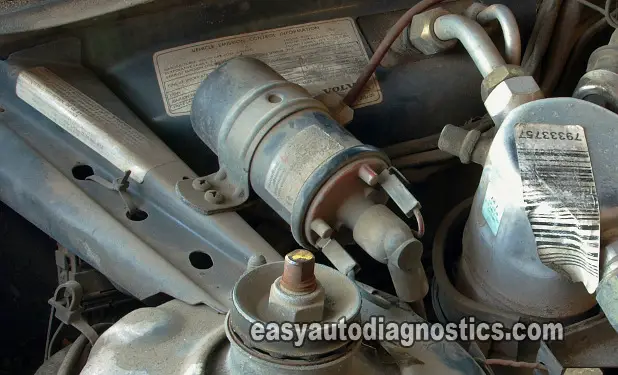
Knowing the theory of how something works is important, but only to a certain extent. Because the main reason you're here is to learn how to test something not to learn what metals it's made of or how the magnetic field is interrupted by the thing-a-ma-jig and blah, blah, and blah. You don't want to reverse engineer the stupid thing, you just want to solve the problem!!!
I have always been amazed at the amount of baloney and useless information you'll find on the Internet about anything automotive. I don't give a crap if it's made of plastic or titanium or whatever!!! I want to know how to test it. Period.
Finding that testing information can sometimes be hard or next to impossible. Which makes knowing how something works that much more important. This knowledge will help you to troubleshoot/diagnose the automotive component in question as either being good or being bad whether you have the diagnostic manual next to you or not. Therefore, the most important theory to learn and to know is how the component should behave in the overall system it's a part of, and not only that, but WHAT makes it behave. Case in point: the ignition coil.
Contents of this tutorial:
- What The Ignition Coil Needs To Fire Off Spark.
- Types Of Ignition Coils.
- What's The Ignition Coil's Primary Circuit?
- The Ignition Control Module.
- The Crankshaft Position Sensor.
- The Basics Of The Ignition Coil's Secondary Circuit.
- Testing The Ignition Coil For Spark.
- Why Is It Important To Know This Stuff?
 You can find this tutorial in Spanish here: Cómo Funciona La Bobina De Encendido (at: autotecnico-online.com).
What The Ignition Coil Needs To Fire Off Spark
OK, the most important ‘theoretical’ things we have to know about life. No, wait a minute, wrong web site, I mean the ignition coil are:
- It needs battery voltage.
- It needs a Switching signal that's provided by a Switching device.
- This Switching device is either called the ignition control module (ICM) or Power Transistor or Igniter or this function is handled by the fuel injection computer itself.
- The Switching device is responsible for ‘switching’ the Primary Current (which is the technical name for 12 Volts), flowing thru' the ignition coil ON and OFF.
- This switching ON and OFF is accomplished by interrupting the Primary Current's Ground path.
- This switching ON and OFF of the Ground is what makes the ignition coil fire off spark for the spark plugs.
- The Switching device needs a Triggering signal from a Triggering device to let it know when to create and feed the Switching signal to the ignition coil.
- This Triggering device is usually a crankshaft position sensor, altho' it may be called by a different name (depending on manufacturer) like: distributor pick up coil, crank angle sensor, profile ignition pickup (PIP) sensor, etc.
- That if it's receiving all of the aforementioned things, it should spark.
- Every signal can be tested with simple and inexpensive tools.
- You don't need an automotive scan tool to test these components.
With info like this, you'll be ready to take over the world!!!! But if you still want the actual theory of how it works, you can look it up on Wikipedia (you could probably build one from scratch with the info, too).
Types Of Ignition Coils
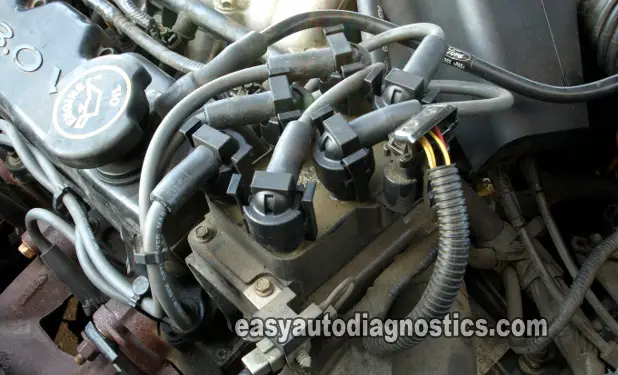
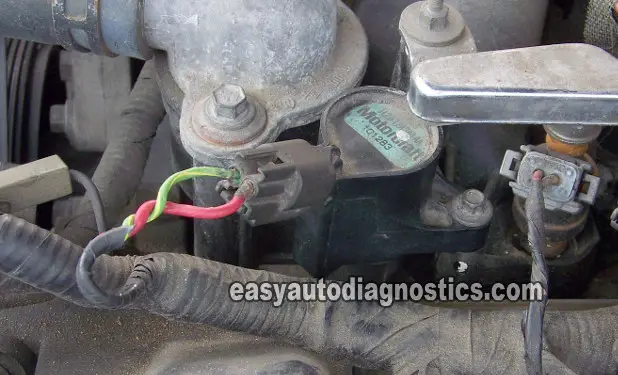
OK, getting back to the world in which you and I live, what throws a wrench into our ‘equation’ of how the ignition coil should work, is that they are set up in so many different ways. Now, it's not that they use different laws of physics to work, it's just how they go about implementing the creation of and feeding of the Switching signal. For example:
- Some ignition coil connectors have only two wires.
- Others have three or four wires coming out of the connector.
- Some are controlled by an external control module.
- Some have the control module (called the Power Transistor or Transistor) integrated inside of them.
Some crazy stuff, huh? The good news is that there are some basic things that apply to them all for them to produce the required spark for combustion. Not only that, they can be tested on the car with some very simple and easy tests!
OK, to effectively understand how to test the ignition coils, independent of how many wires are coming out of their connectors, we need to delve into useful and working ‘theory’ of the ignition system. We need to know about the Primary and Secondary circuits of the ignition coil. I'll also go into some detail about the relationship between the ignition coil and the ignition control module and crankshaft position sensor. Lets turn the page to learn more.
What's The Ignition Coil's Primary Circuit?
Simply put, the Primary circuit is the wire or wires that deliver 12 Volts to the positive (+) terminal of the ignition coil.
It also includes the Primary windings inside the ignition coil. And lastly, the circuits involved in taking this current to the ignition control module (or Power Transistor or computer) from the ignition coil's negative terminal.
The 12 Volts that flow thru' this circuit are called the Primary current. OK, so now you know that the ignition coil gets 12 Volts from the Primary circuit, but what happens next? Let's find out in the next subheading.
The Ignition Control Module
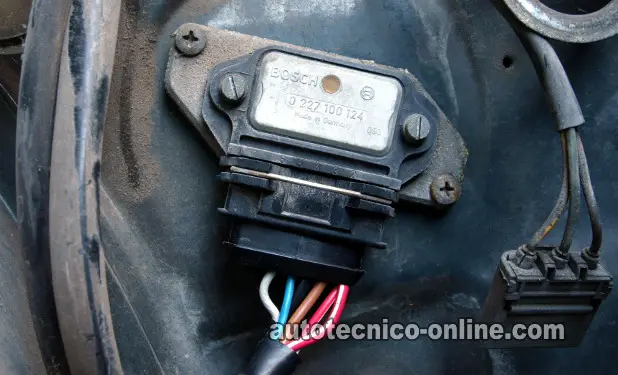
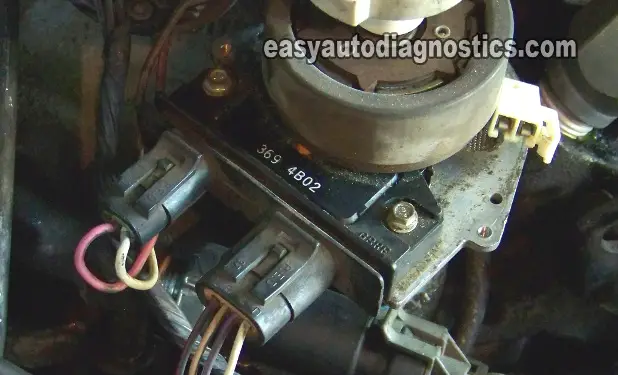
As stated in the first page of this article, what makes the ignition coil fire off spark is the turning ON and turning OFF of the Primary current by a Switching device. Which depending on the year, make, and model of the car you're working on (or driving) will either have an ignition control module (ICM) or a Power Transistor or an Igniter or the fuel injection computer handling the role of the Switching device.
The ignition control module accomplishes this ON/OFF action by simply interrupting the Primary current's path to Ground. This ON/OFF action occurs on the negative terminal of the ignition coil.
The beauty of it all, is that this Switching ON and OFF, of the Primary current, can be verified very easily, whether the ignition coil belongs to a distributor type system or to a Coil-On-Plug ignition system. This can be accomplished by using a test light in the majority of the cases or an LED light.
Now, since we live in an imperfect world, the ignition coils that can not be tested in this manner are the 3-wire Coil-On-Plug ignition coils. Here are the test steps to test two-wire (two terminal) Ignition Coils:
Using an LED light:
- You'll need to identify which terminal, on the ignition coil is the power circuit and which is the Ground circuit.
- Normally labeled with a plus (+) or minus (-) symbol.
- Connect the black lead of the LED light to the negative terminal on the ignition coil.
- Connect the RED lead to battery voltage, although you could do this on the power terminal of the ignition coil, its preferable to connect it to the battery positive (+) terminal.
- When all is ready, have a helper crank the engine while you observe the LED light.
- If the Switching signal is present, the LED will flash ON and OFF.
Using a 12 Volt test light:
- You'll need to identify which terminal, on the ignition coil is the power circuit and which is the Ground circuit.
- Normally labeled with a plus (+) or minus (-) symbol.
- Connect the 12 Volt test light's alligator clip to the battery positive (+) terminal.
- With the probe end of the test light, touch the power terminal of the ignition coil.
- When all is ready, have a helper crank the engine while you observe the LED light.
- If the Switching signal is present, the test light will flash ON and OFF.
- Not all vehicles respond to the 12 Volt test light. In those cases you'll need to use the LED light method above.
Now, the reason why a 3-wire Coil-On-Plug (COP) ignition coil can not be tested by the methods described above is that there is no negative terminal, that receives the Switching signal, exposed to attach any type of testing equipment. This terminal does exist, but is inside the ignition coil itself and connects directly to the Transistor (ignition control module, that's also inside).
The Crankshaft Position Sensor
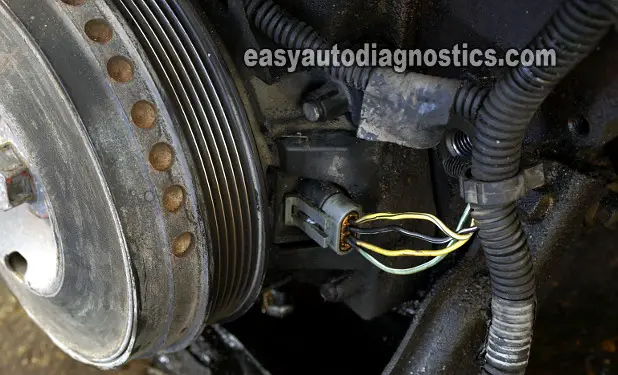
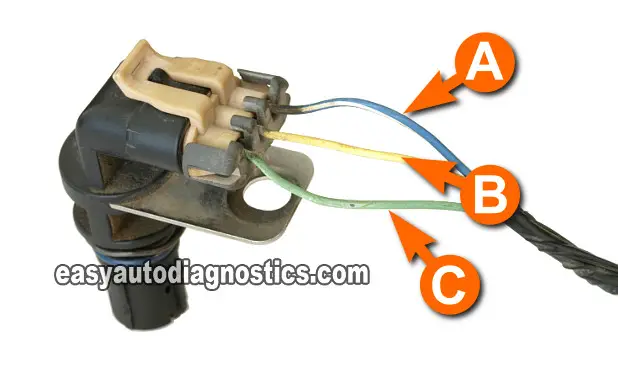
How does the ignition control module create the Switching signal? Well, besides needing power and Ground, the ignition module also needs a signal to let it know when to start switching the ignition coil ON and OFF. This is done by some sort of Triggering device. To make the long story short, the Triggering device is the crankshaft position sensor.
The crankshaft position sensor lets the ignition control module know exactly when to interrupt the ignition coil's Primary Current's path to Ground. Thus causing the ignition coil to spark at the exact time it needs to in the combustion cycle.
OK, these Triggering devices (piston position sensors) come in four basic types which are:
- Magnetic pulse generators.
- Hall Effect sensors.
- Metal detection sensors.
- Optical (photoelectric) sensors.
Each one produces a specific type of signal (Triggering signal). And of course are wired a little bit differently from each other.
The really cool thing is that all of these signals can also be easily tested. Some, like the Hall Effect type, can be tested with an LED light you can buy at Radio Shack or a multimeter.
Other types of crankshaft position sensors, like the magnetic pulse generator and the metal detection sensors, can be tested with a multimeter in AC Volts mode.
The best way to test them all is with an oscilloscope. But all testing methods work. I have used all techniques and each, depending on the circumstances, have worked for me and should for you too.
Since this article focuses on the ignition coil, let's move on to the next part: The Secondary circuit of the ignition coil.