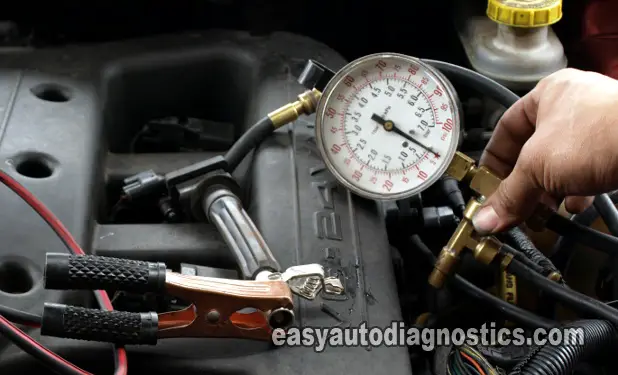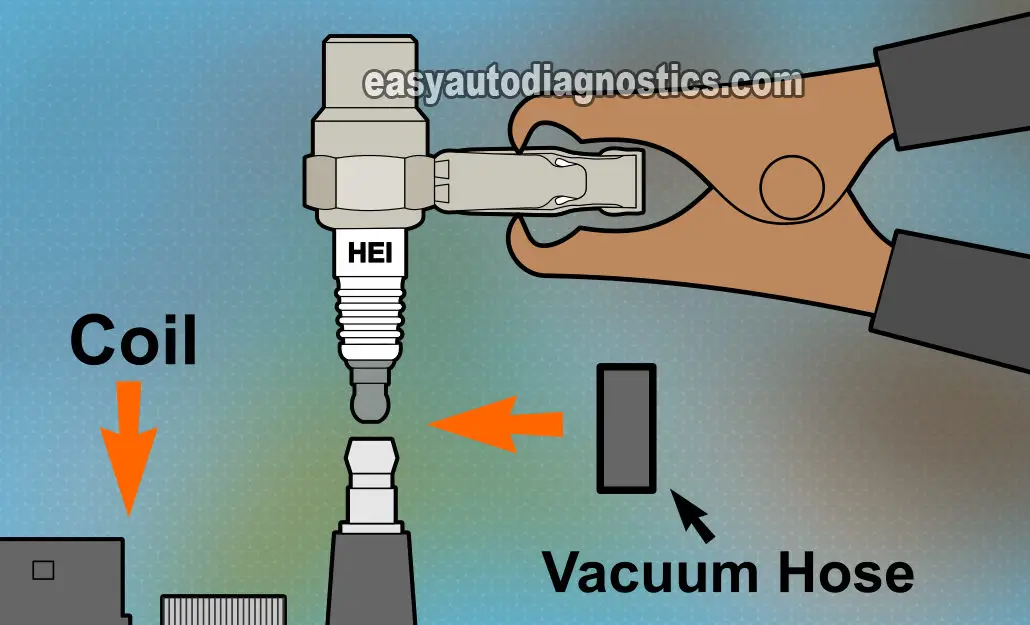
The two most common causes of a no-start condition, in my experience, are a lack of fuel or a lack of spark. This article will shed some light on the most basic steps that you have to take in diagnosing a CRANKS, BUT DOES NOT START condition.
To be able to take advantage of the info in this article, there are two important things to know. One is, the difference between does not crank and does not start conditions. Here's the difference:
- Does not crank.
- The starter motor does not turn over the engine for it to start.
- Does not start.
- The starter motor does turn over the engine.
- The engine turns over but does not start.
This article concentrates on the no-start condition. If you'd like to find out more about the does not crank condition, I recommend this article: How To Test A Does Not Crank Condition -Case Study (GM 3.8L). This link will take you to a real life case study of a car with such a problem.
![]() You can find this tutorial in Spanish here: Vehículo Arranca Pero No Prende -Las Pruebas Básicas (at: autotecnico-online.com).
You can find this tutorial in Spanish here: Vehículo Arranca Pero No Prende -Las Pruebas Básicas (at: autotecnico-online.com).
What Is A No Start Diagnostic?
A diagnostic is a series of tests by which you eliminate as good or bad the component you think is causing the problem. So, if the component (being tested) tests good, you then go on to the next component in the system and test that one. This process continues until the bad part is found and then replaced. To put it simply: A diagnostic is just a process of elimination and knowing this will give you a big testing advantage.
Now, many folks don't have the time and/or inclination to learn how to test the problem on their vehicle and just want someone to give them a ‘guess’ (that's right on the money) as to what the solution is to their car's NO START. With a modern computerized fuel injected car or truck, this just isn't possible anymore. So, I'll add the following to dispel some common myths about what an automotive diagnostic is not:
- Connecting a scan tool and reading the codes is not a diagnostic.
- Telling a mechanic or a technician the symptoms and receiving some suggestions as to the cause in not a diagnostic.
- The surest way to throw money down the drain is to replace something based on the two above lines.
OK, keeping the above in mind, the following testing tips and guidelines (in this article) can be modified to fit your particular need. Each no-start condition that you'll deal with will have a different thing causing it. And you're not going to find all of the tips and tricks here. The good news is that the testing tips in this article will give you a great head start.
Remember what I stated at the beginning of the article about fuel and spark? Well, to start this process of elimination as it relates to a NO-START CONDITION, we need to first find out if it's caused by a lack of FUEL or SPARK. How do we do this? With some very specific tools.
What Tools Do I Need?
You don't have to spend an arm and a leg buying tools to diagnose your vehicle's no-start condition, but you do need some and they are not expensive. To check for FUEL and SPARK requires two very important tools:
- A spark tester. Not just any spark tester, an HEI spark tester will only do (they cost around 7 - 14 bucks).
- A fuel pressure gauge. Depending on the type of vehicle you're working on, you can buy your fuel pressure gauge from the auto parts store or you'll have to buy a professional one online or from a tool truck (like Matco, Cornwell, etc.).
There are other tools that you'll need to be able to diagnose the NO START problem on your car or truck. Here's a very basic list of basic tools:
- A scan tool. It's a very handy tool to have, but when your car or truck doesn't start, this tool won't be much help (in the majority of cases).
- Fuel injector Noid lights.
- A repair manual.
- A multimeter. Preferably one that can read Hertz frequency.
- A 12 Volt automotive test light.
Knowing this, lets turn the page and start with the first test: the spark test.


